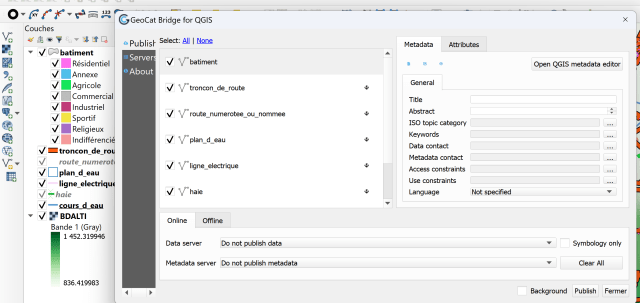
Although Geoserver has tools for uploading data layers, this operation can be simplified by exploiting the possibilities of QGis and the Geocat Bridge plugin. This plugin allows to load directly in Geoserver the data and symbologies defined in a QGis project.
This video is in french.
Watch this video on our Youtube channel: https://www.youtube.com/@sigterritoires
We need to install the Geocat Bridge plugin

You can find the plugin under the menu Internet->Geocat Bridge->Publish

When opening the plugin window, the list of layers loaded in the QGis project is displayed by default

The first time we need to establish the connection to use with Geoserver. To do this we go to the Servers tab and click on the New Server -> Geoserver button

The server configuration appears:

The URL is simply the usual Geoserver connection url.
Click on the + sign of Credentials and open the drop-down menu to select Basic authentication.
You have to enter the Geoserver administration username and password.
Save the authentication. Then Save the connection. Finally, click on Test Connection to verify that everything is in order.
Go back to the Publish tab, then in Data server select the connection to the server you just defined

All you have to do is click on Publish to load the data into Geoserver. A window will show you the progress of the uploads, and another one the final report.
You can then go to the Geoserver administration window. A new Workspace has been created, named after the QGis project name

In the list of layers, you will see the new layers, prefixed by the workspace name

With the Layer Preview option you can see the result for each layer
